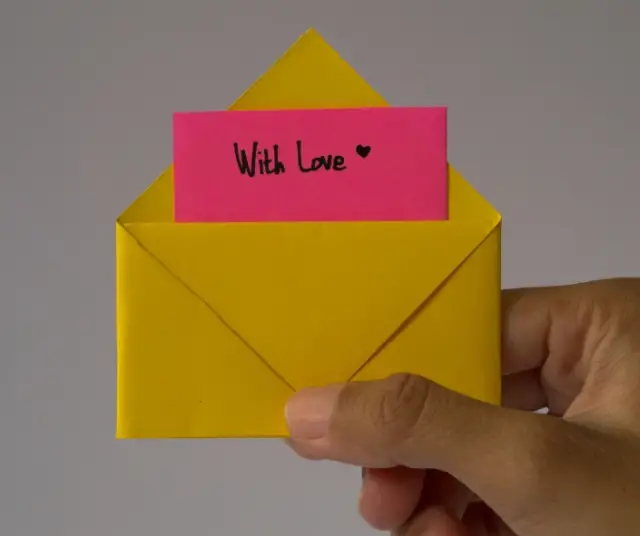
Love and Friendship are special occasions that deserve equally special gestures. Instead of resorting to the typical business cards, why not surprise your loved ones with a handmade love card?
Step 1: Gather Your Materials
Before you dive into the rewarding process of creating a handmade love card, it's essential to make sure you have all the necessary materials on hand. Your choice of materials will influence not only how the final card will look, but also the ease with which you can bring your artistic vision to life. Here is a list of items that could be useful:
- Colored paper: Select papers in shades that reflect the occasion. Textured or specially finished papers can add an extra touch of elegance.
- Scissors: A quality pair of scissors will allow you to cut precise and clean shapes on the paper.
- Glue: A strong yet easy-to-handle adhesive is essential to ensure your card elements stay in place.
- Markers and colored pencils: These are useful for adding details by hand and for writing personalized messages on the card.
- Stamps and Inks: If you want to incorporate preset designs or patterns, stamps and inks are a great option.
- Decorative elements: These can include stickers, ribbons, lace, buttons, beads, or other embellishments that you want to add to give depth and texture to your creation.
- Cutting Tools: In addition to scissors, consider having tools like shape cutters, paper punches, or dies to add variety to your designs.
- Designer paper: If you don't want to start from scratch, designer paper with interesting patterns can serve as the base for your card.
- Ruler and cutting surface: These tools will help you measure and cut accurately, without damaging the surface you are working on.
- Personalized Items: Small photographs, magazine clippings, fragments of old letters, or other significant objects that you wish to incorporate.
Step 2: Design your Card
Decide on the design and style of your card. You can go for a classic design with hearts and flowers, or something more personalized based on the recipient's interests and tastes. Draw a preliminary sketch to visualize how you want the final card to look.
Step 3: Select the Appropriate Colors
Colors play a crucial role in conveying emotions. For a love card, warm tones like red, pink, and gold are often great choices. Combine colors harmoniously to create a visually appealing look.
Step 4: Add a Personal Touch
Incorporate personal elements that connect with the person who will receive the card. This could be a special quote, a shared memory, or a meaningful image. Personalization adds priceless emotional value to the card.
Step 5: The Right Message
Think about the words that will accompany your card. Express your feelings sincerely and genuinely. If you're feeling creative, you can write a short poem or story that has special meaning to both of you.
Step 6: Get to work
Cut out the paper according to the design you have decided on. Fold the paper in half to create the basic structure of the card. Then start gluing and decorating based on your previous design.
Step 7: Details and Decoration
Add additional details to make the card stand out. You can incorporate lace, buttons, ribbons or even small photographs. The extra texture and dimension will make the card more visually interesting.
Step 8: Final Touch
Go over your card and make sure all the elements are well attached. Read the message again to confirm that it expresses exactly what you want to convey. One last look ensures that the card is ready for presentation.
Creating a handmade love card for the Day of Love and Friendship is a beautiful way to show your feelings in a unique and personal way. Every time the recipient looks at the card, they will be reminded of the time, effort, and love you put into their creation. Don't underestimate the power of a handmade gesture in an increasingly digitized world. Let's get to work and create an unforgettable gift!